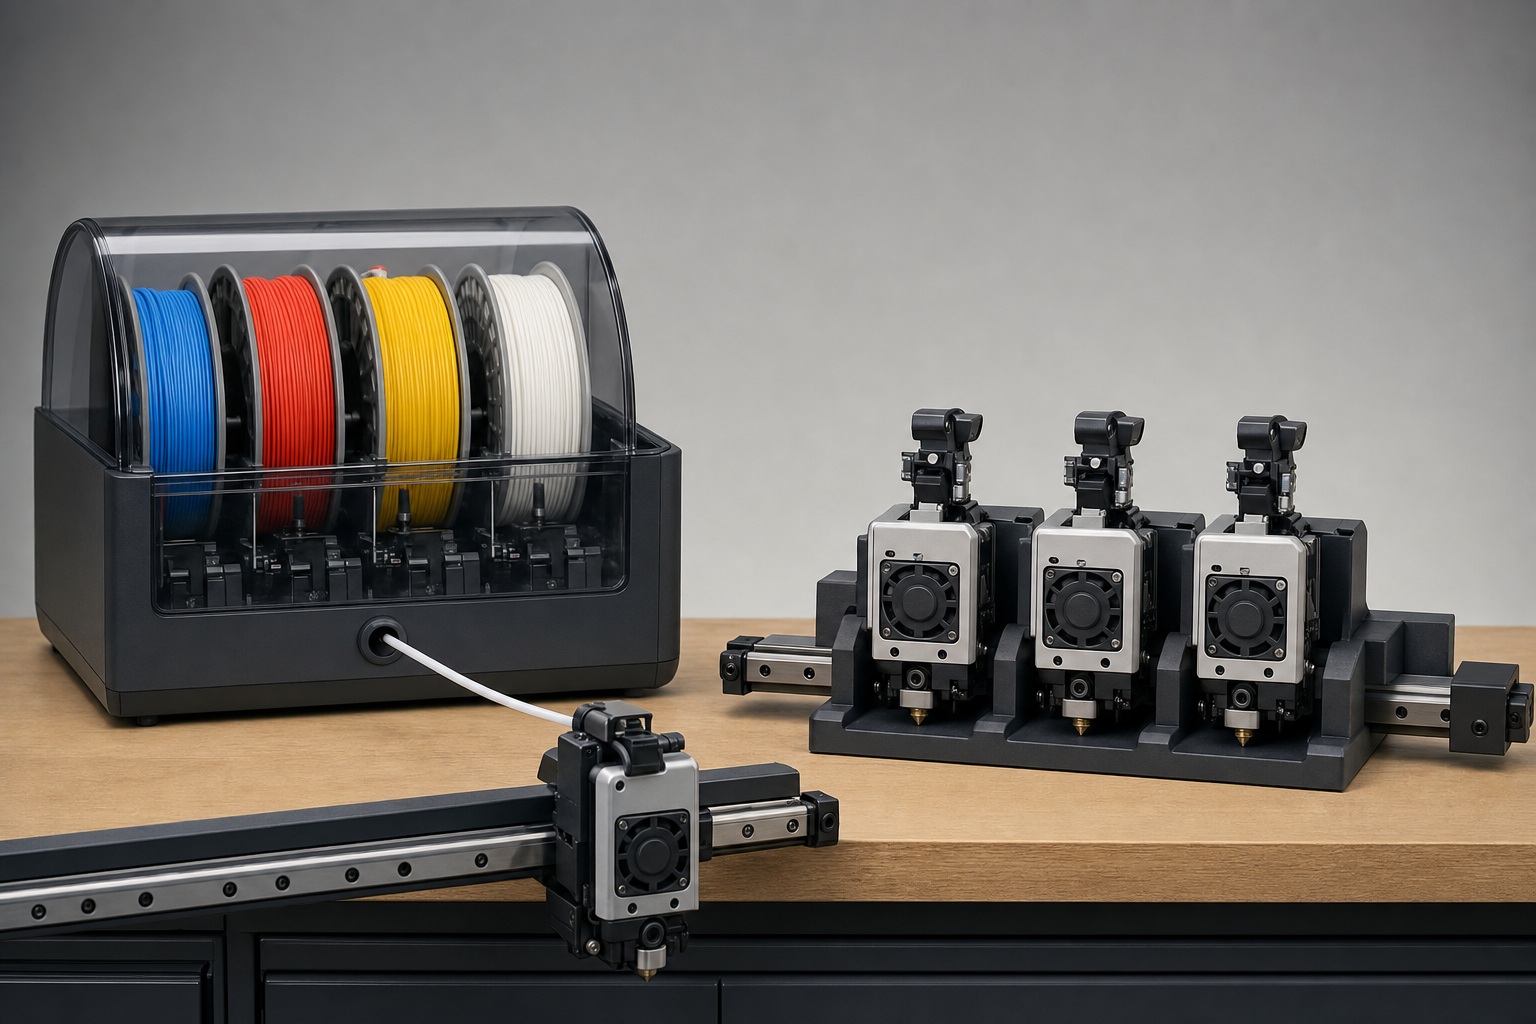
You're staring at a $350 add-on and a $2,000-plus machine, trying to work out which one you actually need. Here's the shortcut: buy a filament changer if you mostly print several colors of the same plastic. Reach for a tool changer only when a job needs genuinely different materials at once. That one distinction, not any feature chart, settles the tool changer vs filament changer 3D printer decision for most people. The two aren't really competing for the same buyer. A filament changer like Bambu Lab's Automatic Material System (AMS) is a roughly $350 add-on that bolts onto a printer you may already own. A tool changer like the Prusa XL is a separate machine starting near $1,999 and climbing past $4,000 once you add heads. Comparing a $350 accessory to a $2,000-plus printer as if they were rivals is the first mistake to avoid.
So the real question isn't "which is better." It's "which problem do I have?" Many colors of one material is a color problem: a filament changer solves it cheaply and scales to 16 spools. Combining a rigid body with a flexible gasket, or a dissolvable support that peels cleanly off an overhang, is a material problem: and only a tool changer solves that without compromise. Waste and speed differ between the two, but they follow from the material question rather than driving it.
Tool Changer vs. Filament Changer 3D Printers
A filament changer feeds many spools into one shared nozzle; a tool changer parks several complete print heads and mechanically swaps the whole head. That single mechanical difference, one nozzle versus many, drives every trade-off that follows.
Filament changer (MMU / AMS): One extruder, one hotend. The names differ by maker (Multi-Material Units on Prusa, Automatic Material System on Bambu Lab) but the idea is identical: several spools feed the same nozzle, one at a time. Mosaic's Palette is a variant that splices filaments into a single strand before it ever reaches the printer.
Tool changer: Two to five complete print heads, each with its own extruder, hotend, and nozzle, parked in docks. The motion system drops one head and picks up another mid-print. Each head keeps its own isolated filament path.
| Factor | Filament changer | Tool changer |
|---|---|---|
| Print heads / nozzles | 1 shared nozzle | 1 per tool (2–5+) |
| Materials per unit | 4–5, chainable to 16 | 2–5, some 6+ |
| Change time | 2–20s incl. purge | ~0.5–15s (depends what's counted) |
| Material waste | ~10–30% purge (higher on change-heavy prints) | Near-zero (small prime/wipe) |
| Material compatibility | Limited, shared temperature | Excellent, independent temps |
| Cost | ~$300–1,500 add-on | ~$2,000–4,000+ machine |
| Calibration | One nozzle | Per-tool X/Y/Z offset + docking |
| Carriage weight / speed | Very light, high speed | Heavier, slightly lower acceleration |
| Nozzle-size flexibility | One size | Different diameter per tool |
| Footprint | Compact | Docks take space |
| Best for | Affordable multi-color | True multi-material |
Two numbers in that table are ranges on purpose. Reported tool-change time swings from under a second to 10–15 seconds depending on whether you count the empty travel to and from the dock and a short prime; a bare mechanical coupling is fast, the full round trip is not. Purge waste lands at 10–30% for most multi-color prints but climbs far higher on models with hundreds of color changes packed into small areas. Neither number is a fixed spec: both scale with how your specific print is designed.
Filament Changer: Many Spools, One Nozzle
A filament changer runs every color through the same hotend and clears the old material with a purge. It's the cheapest, most common route to multi-color printing, and for good reason: the AMS ecosystem is mature and it scales to more simultaneous colors than any tool changer.
Here's what happens at each color boundary:
- The printer pauses at the transition point in the model.
- It retracts the active filament and, on cutter-equipped systems, snips the tip.
- The selector loads the next spool down the shared path into the hotend.
- The nozzle purges old material into a wipe tower or waste chute until the new color runs clean.
- Printing resumes.
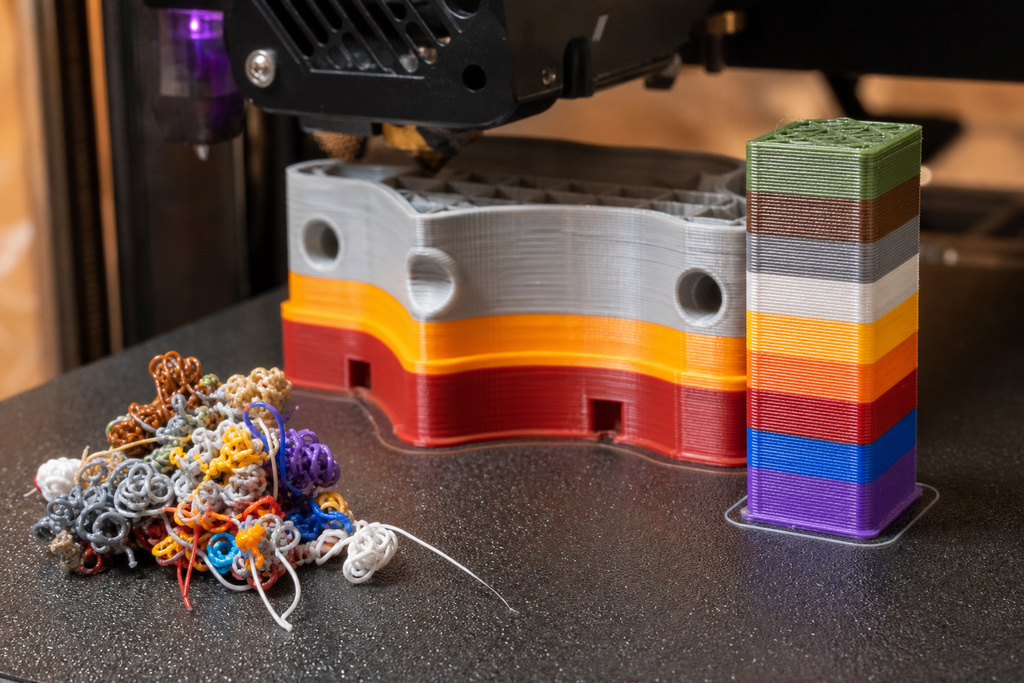
The physics is unforgiving in one respect. A nozzle is a small melt chamber, and leftover plastic from the previous color clings to its walls. Think of it like rinsing a paintbrush between colors: skimp on the rinse and the old color muddies the new one. Push too little new filament through and you get color bleed: a ghost of the old color streaking into the new one for a few millimeters. That purge isn't optional waste; it's the cost of admission for sharing a nozzle. On a busy multi-color print, the discarded purge can rival the mass of the actual part.
Watch for two failure modes. Ghosting or muddy transitions mean your purge volume is set too low for that color pair: dark-to-light swaps need far more purge than light-to-dark. And flexible filament fed through long PTFE tubes tends to buckle and jam in the selector, which is why TPU rarely plays nicely in these systems.
Pros
- Cheapest path to multi-color, often a bolt-on at $300–1,500
- Scales to many colors: 4–5 per unit, up to 16 chained
- Light single-nozzle carriage keeps print speeds high
- One nozzle to align; the Bambu AMS ecosystem is reliable and turnkey
Cons
- Purge waste of roughly 10–30%, higher on change-dense prints
- Every swap adds 2–20 seconds, stretching multi-color print time
- One temperature for all materials: weak at mixing high- and low-temp plastics
- Color bleed if purge is short; TPU and flexibles jam in long tubes
Verdict: Best for hobbyists printing many colors of one plastic on a budget.
Tool Changer: Whole Heads, Parked in Docks
A tool changer keeps each material on its own dedicated print head and swaps the entire head instead of the filament. Because nothing shares a nozzle, there's nothing to purge: and each head can run its own temperature, extruder, and nozzle diameter.
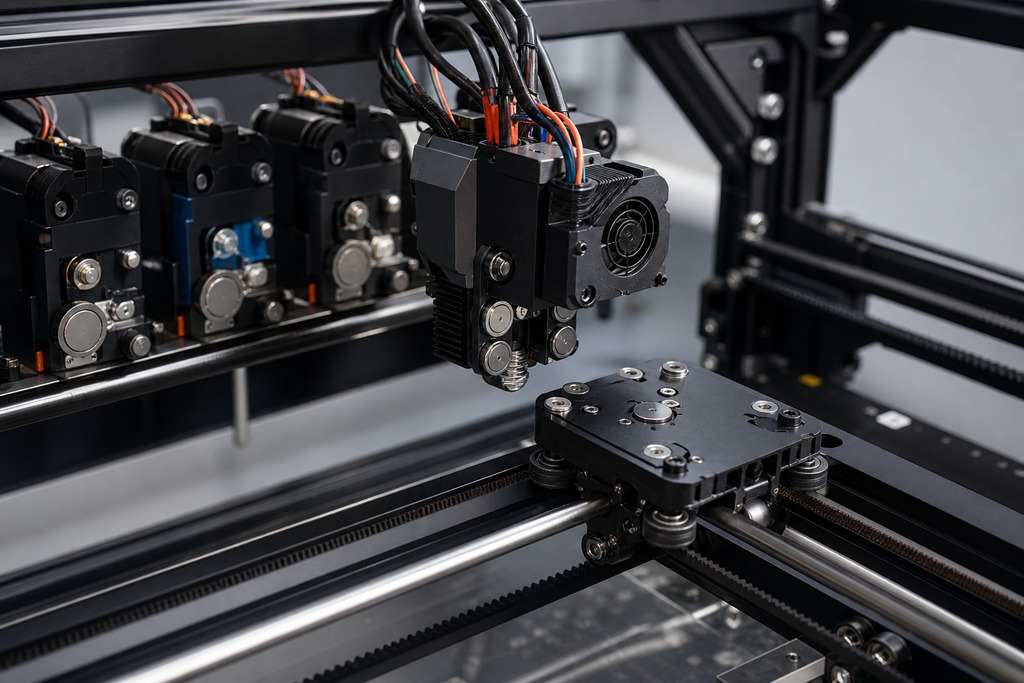
The change sequence is mechanical, not thermal:
- The carriage carries the active head to its dock and parks it.
- A magnetic or mechanical coupling releases the head into the dock.
- The empty carriage travels to the next dock.
- It couples onto the waiting head and locks in.
- A short prime and wipe clears any ooze, then printing resumes: no shared nozzle to flush.
The advantage is isolation. Each material travels an independent path, so PLA at 210°C and a soluble support at its own temperature never meet inside one melt chamber. High-end systems using kinematic couplings, the approach E3D's ToolChanger popularized, repeat nozzle position to within about 0.02–0.05 mm, tight enough that swapped layers line up cleanly.
The complexity lives in alignment. Every tool needs its X, Y, and Z offset calibrated relative to the others; get the Z offset wrong and one head gouges the print or floats above it. A worn docking pin or a dirty coupling lets alignment drift, which shows up as layer shifts or, worse, a nozzle crash. The other failure mode is ooze: an idle nozzle sitting hot will drip, so wipe routines and standby temperatures have to be managed or you get blobs deposited by the head that wasn't even printing. "Near-zero waste" is real, but it's near-zero, not effortless.
Pros
- Each head runs its own material, temperature, and nozzle size
- Near-zero purge: only a small prime and wipe
- Clean dissolvable supports and reliable flexible-plus-rigid combinations
- Fast mechanical swaps; different nozzle diameters for speed versus detail in one job
Cons
- A whole separate machine at roughly $2,000–4,000+
- Per-tool X/Y/Z offset calibration; docking must stay precise
- Typically caps at 2–5 tools: fewer simultaneous colors than an AMS
- Idle nozzles ooze if unmanaged; docks enlarge the footprint
Verdict: Best for makers combining genuinely different materials or needing soluble supports.
What Actually Decides It: The Materials You Print
One shared nozzle can only sit at one temperature at a time, so a filament changer forces every material in a print to live inside the same thermal and mechanical window. That single physical fact is why multi-color and multi-material are separate problems, and why material compatibility is the real dividing line between these systems.
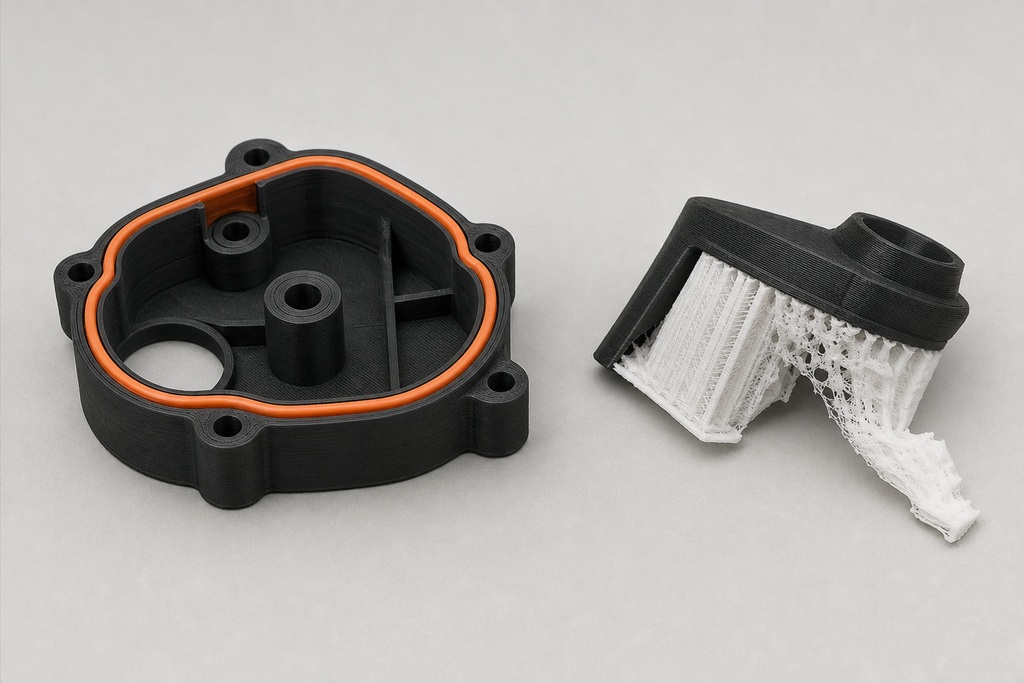
Consider the temperatures. PLA prints happily around 210°C; polycarbonate wants roughly 280°C. Ask one nozzle to alternate between them and you either scorch and string the PLA or under-melt and clog the PC. Soluble supports fail differently: when PVA or BVOH shares a nozzle with model plastic, residue contaminates the support interface, so the "clean break" you paid for comes away rough and weak. Flexible TPU has its own problem: pushed through a long, curved tube by a remote drive, it compresses like a spring and jams instead of feeding.
A tool changer erases all three limits because each head is a self-contained system at its own temperature down its own path. That's the entire justification for its price. But flip the logic and the guidance is just as firm: colors of one plastic all print at the same temperature, so a filament changer handles 16 shades of PLA with no compromise at all. Wanting more colors isn't a reason to buy a tool changer: it points the opposite way, since a chained AMS gives you far more simultaneous colors than any 2-to-5-tool machine.
What Each Approach Costs
Expect a filament changer to add a few hundred dollars to an existing printer and a tool changer to cost as much as a whole machine, because that's exactly what each one is. The gap is 5–10x, and it's structural, not incidental: you're paying per head for independent hardware.
| System | Approach | Capacity | Approx. price |
|---|---|---|---|
| Bambu Lab AMS | Filament changer (add-on) | 4 spools, chain to 16 | ~$350 |
| Prusa MMU3 | Filament changer (add-on) | 5 spools | ~$300–370 |
| Prusa XL (single tool) | Tool changer | 1 tool, expandable | from ~$1,999 |
| Prusa XL (multi-tool) | Tool changer | up to 5 tools | ~$2,500–4,000+ (≈+$800/tool) |
| E3D ToolChanger | Tool changer (open-source, discontinued) | 4+ tools | Not in sources / DIY |
| Enraged Rabbit Carrot Feeder | Filament changer (DIY) | scalable | Not in sources / DIY parts |
| Mosaic Palette | Filament splicer | multi | Not in sources |
| Bambu Lab H2D | Hybrid (dual nozzle + AMS) | 2 heads + AMS colors | Not in sources |
Prices for DIY and discontinued systems are left blank because reliable current figures aren't available — an ERCF or Voron-based tool changer is built from parts and varies with your bill of materials. Treat every dollar figure here as a starting point and confirm the live price before buying, since printer pricing shifts frequently.
Products You'll Actually See in 2025–2026
Four filament-changer setups and three tool-changer platforms cover almost everything a hobbyist will meet, plus one hybrid that straddles both. The filament-changer side is dominated by Bambu Lab; the tool-changer side is split between Prusa's turnkey XL and the open-source community.
| Product | Approach | Max colors / tools | Note |
|---|---|---|---|
| Bambu Lab X1C / P1S + AMS | Filament changer | up to 16 (4 AMS units) | Dominant, reliable, turnkey |
| Prusa MK4 + MMU3 | Filament changer | 5 materials | Open, upgradeable |
| Mosaic Palette | Filament splicer | multi | Splices filaments before the printer |
| Enraged Rabbit Carrot Feeder | Filament changer (DIY) | scalable | Voron / open-source community |
| Prusa XL | Tool changer | up to 5 tools | Segmented heatbed |
| E3D ToolChanger | Tool changer | 4+ tools | Open-source, influential, discontinued |
| Jubilee / Voron & RatRig builds | Tool changer (DIY) | varies | Enthusiast builds |
If you want the shortest path to reliable multi-color, a Bambu Lab X1C or P1S with an AMS is the default answer. If you want a supported tool changer without building one, the Prusa XL is effectively the only mainstream consumer option, which is why its price sets the market.
Which Should You Choose?
Match the system to your dominant job, not to your wish list. Most people over-buy by imagining the rare multi-material print they might attempt someday instead of the multi-color prints they'll actually run every week. Sort yourself with the two lists below.
Choose a filament changer if you:
- Want multi-color printing on a budget
- Mostly print similar materials — all PLA, different colors
- Need many colors: 8, 12, or 16
- Prefer a simple single-nozzle calibration and a proven ecosystem
- Can accept some purge waste and slower multi-color prints
Choose a tool changer if you:
- Need soluble or breakaway supports with clean interfaces
- Combine flexible and rigid materials in one part
- Want different nozzle sizes — a 0.4 mm tool for detail, a 0.6 mm for fast infill
- Mix high- and low-temperature materials that can't share a hotend
- Have the budget and accept per-tool calibration
The lists rarely overlap, which is the point. If your reasons land mostly in the first list, a $350 AMS does the job; paying thousands for material independence you won't use is the classic overspend.
Who Should Skip Both
Skip both systems entirely if you print single-color, single-material parts. Neither a filament changer nor a tool changer earns its cost or complexity for someone who prints one shade of PLA at a time — you're adding purge waste, calibration, and failure points to solve a problem you don't have. A standard single-extruder printer is the right tool, and any multi-material hardware is dead weight.
Two narrower "no" cases matter too. Don't buy a tool changer purely to get more colors — a filament changer gives you more simultaneous colors for a fraction of the price, and the tool changer's 2-to-5-head limit works against you. And don't add a filament changer expecting to run flexible-plus-rigid combos or clean dissolvable supports; the shared nozzle can't deliver either reliably, and you'll fight jams and contaminated interfaces instead.
Hybrid Systems Are Blurring the Line
The clean split between these two philosophies is starting to soften. Bambu Lab's H2D pairs a small two-nozzle tool changer with AMS support, so a single machine can swap between two independent heads and chain multiple colors into each one. That combination sidesteps the sharpest limit of each design — the filament changer's single temperature and the tool changer's low color count.
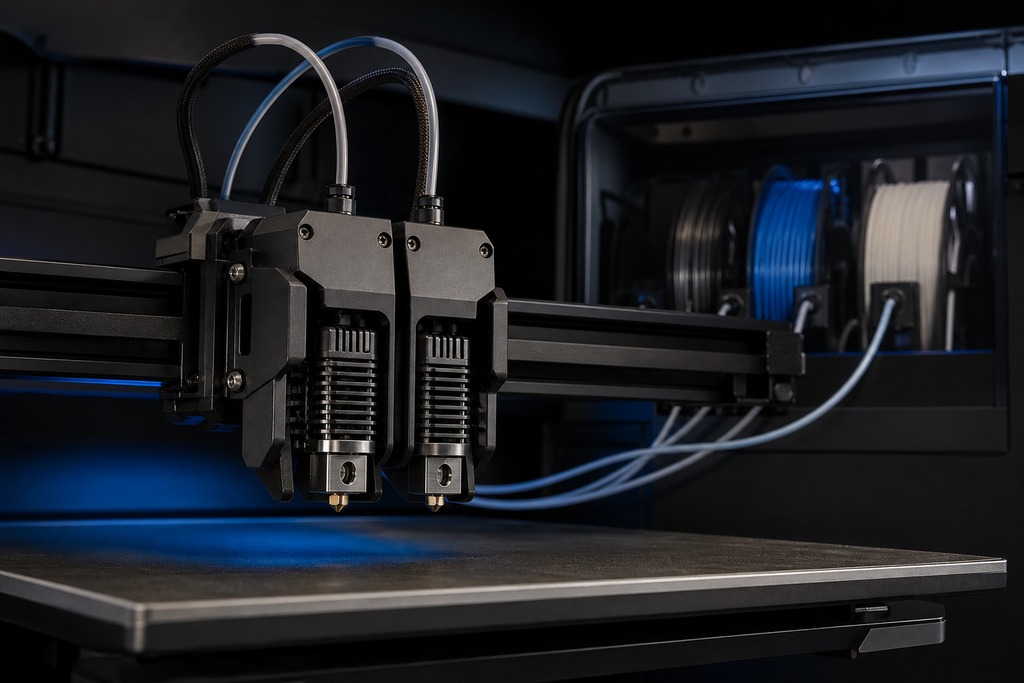
Read it as a trend, not a third category to choose today. A dual-nozzle hybrid still caps its independent materials at two heads. For most buyers the original question stands: many colors of one plastic points to a filament changer, genuinely different materials point to a tool changer, and hybrids are early proof that the two approaches were never truly opposed.
FAQ
Is a tool changer worth it just for multi-color printing?
No. For color work in one material, a filament changer gives you more simultaneous colors, up to 16 on a chained AMS, for roughly a tenth of a tool changer's price. A tool changer only pays off when you need genuinely different materials or nozzle sizes in the same print.
How much filament does an AMS or MMU waste?
Plan for roughly 10–30% of a multi-color print's total filament going to purge, and more on models with hundreds of tightly packed color changes. The waste comes from flushing the old color out of the shared nozzle at every swap, and dark-to-light transitions need the most purge.
Can a filament changer print TPU and PLA together?
Not reliably. Flexible TPU tends to buckle and jam when pushed through the long tubes and selector of a filament changer, and sharing one nozzle temperature with rigid PLA compounds the problem. Mixing flexible and rigid materials is a job for a tool changer's independent heads.
Does a tool changer really produce zero waste?
It produces near-zero waste, not literally none. Each head has its own nozzle, so there's no purge between colors, but the system still lays down a small prime and wipe and must manage ooze from idle hot nozzles. Call it a few grams rather than a purge tower.
What's the cheapest way to print in multiple colors?
Add a filament changer to a printer you own. A Bambu Lab AMS runs about $350 and a Prusa MMU3 roughly $300–370, versus $2,000–4,000+ for a tool changer. Confirm the current price before buying, as hardware costs shift often.
How many colors can a Bambu AMS handle?
One AMS unit holds 4 spools, and up to four units chain together for 16 material inputs on a compatible X1C or P1S. That upper limit is the practical ceiling for most home multi-color printing and far exceeds what any consumer tool changer offers.
References
- Bambu Lab — Automatic Material System (AMS) documentation and product listings
- Prusa Knowledge Base — MMU3 and Prusa XL specifications and pricing
- E3D — Motion System / ToolChanger technical documentation
- Voron and RatRig community build guides — Enraged Rabbit Carrot Feeder and tool-changer projects
- Mosaic Manufacturing — Palette filament-splicing documentation