3D printing, made legible
3D printing, decoded by cause and effect.
A failed print is evidence. Learn to read the symptom, isolate the variable behind it, and make the next change with a reason—not a guess.
Build your mental model
Follow the system, not the superstition.
Choose the part of the process you need to understand, then work from the mechanism outward.
Troubleshooting
Read visible defects as clues, then test the cause that best explains them.
◉Calibration
Turn a controlled test into settings you can trust on the next print.
≋Slicer Settings
See how speed, heat, cooling, and geometry shape every extrusion.
◌Filament
Match material behavior, moisture, and temperature to the part you need.
⌁Hardware
Find when a mechanical limit—not a slicer value—is steering the result.
⌘Firmware
Use motion and extrusion control to make the machine repeat what you intend.
Print Failures Decoded
From symptom to cause to a fix you can verify.
The goal is not a longer list of tricks. It is one useful experiment that narrows the field.
What changed in the part: a gap, a curl, a scar, a layer shift?
Which physical condition can produce that pattern consistently?
Change one variable, print a small proof, and keep the result.
Useful before your next print
Tools for fewer blind adjustments.
Fresh from the bench
Recent decoding notes.
AI Generative Design for 3D Printing: Software, Workflows, and What Actually Works
How generative design optimizes parts for 3D printing: software comparison, workflows, real case studies, and honest limits for functional parts.
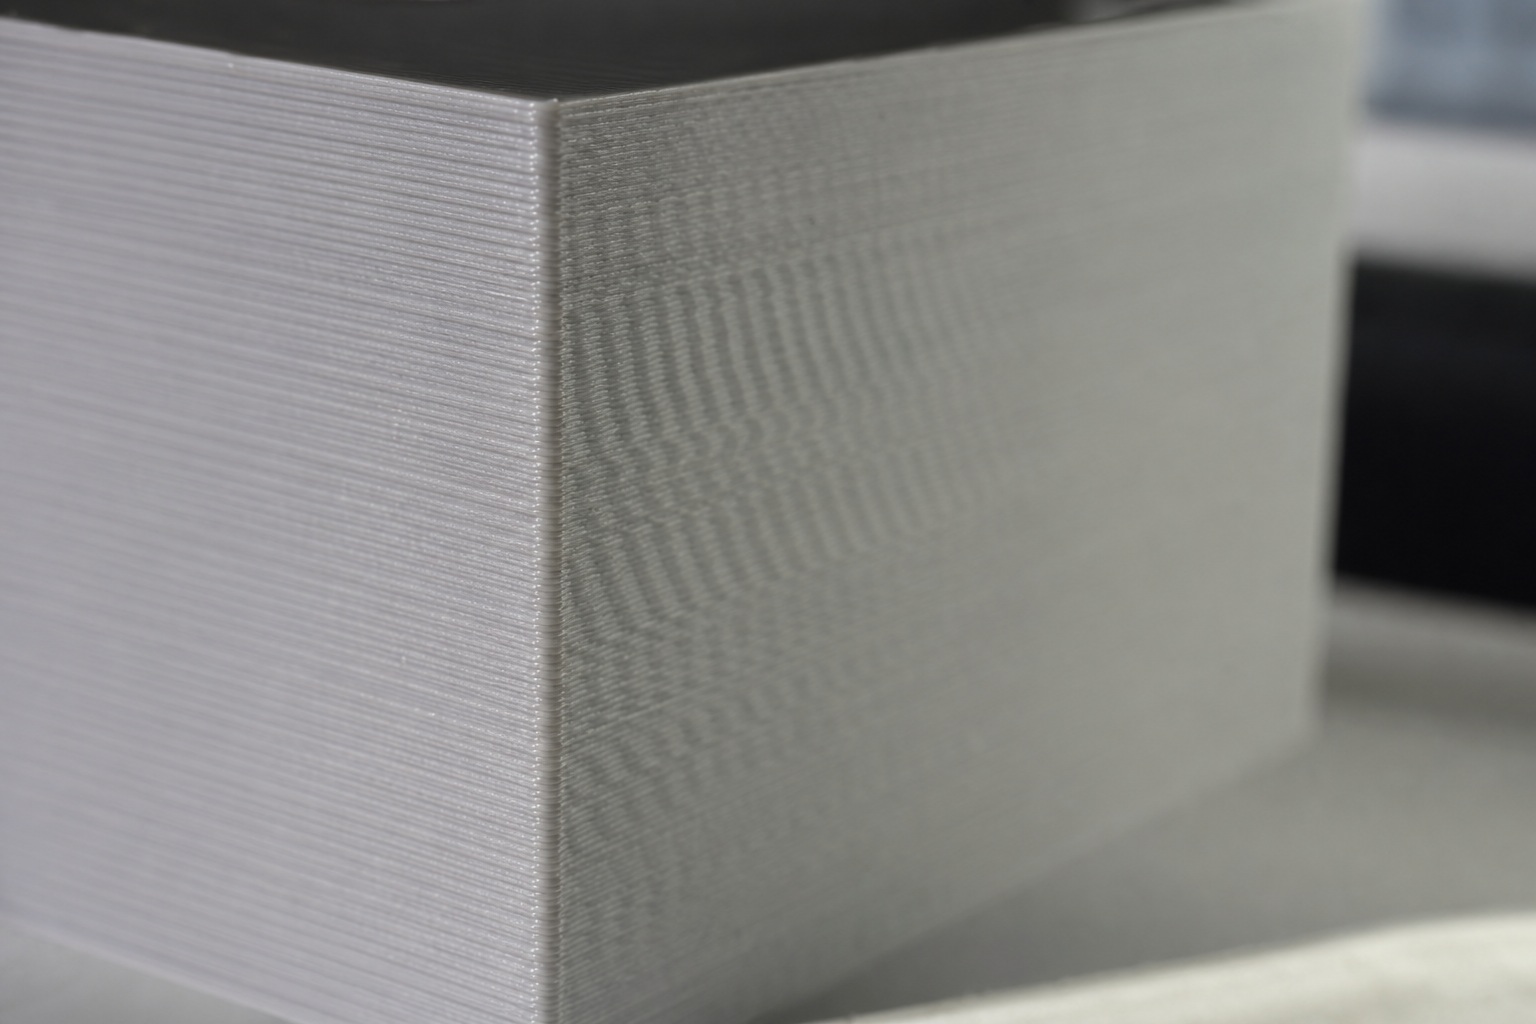
Input Shaping Calibration Explained: Kill Ringing, Print Faster
How input shaping calibration measures resonant frequency to kill ringing—accelerometer vs ringing-tower methods in Klipper, Marlin, and RepRapFirmware.
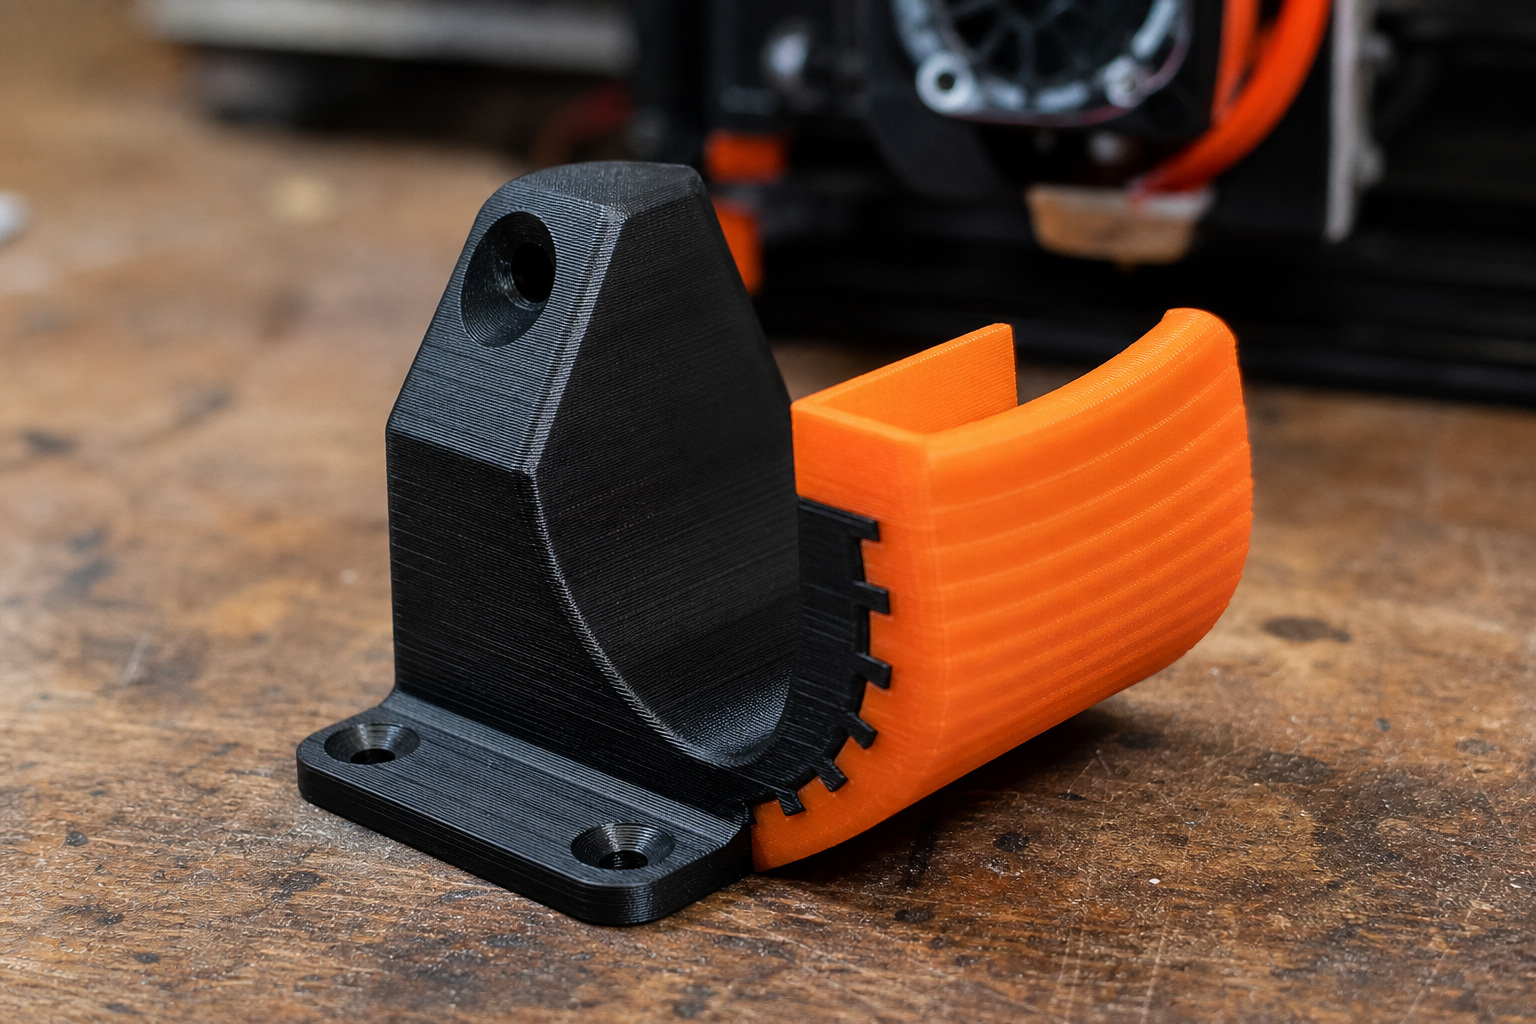
Printing TPU and PLA Together: Hardware, Settings, and the Joint That Holds
Print flexible TPU and rigid PLA in one part: direct-drive hardware, shared temps, and mechanical joints that actually hold. Settings, slicer setup, and fixes.
New to the workbench?
Start with the few settings that move everything else.
Build a dependable first layer, baseline profile, and method for changing variables.
Start Here →Speak the language
3D printing glossary.
Plain definitions for the terms behind slicer menus, tests, and failure reports.
Open the glossary →