Your TPU keeps buckling in the feeder, and no setting has saved it. Here's why: printing TPU through a multi-material system is decided before you open the slicer. Two things settle it: how hard the TPU is, and how long and curved the shared filament path is. Get both right: a 95A-or-harder TPU, ideally a grade certified for your unit, running through a short, constrained path: and drying, slow speeds, minimal retraction, and bigger purge volumes handle the rest. Get either wrong and no setting rescues you.
Most guides treat this as a tuning problem: here are the numbers that push TPU through your AMS or MMU. That skips the part that actually decides success. Settings come second. The question also hides a false choice: run TPU through the multi-material unit, or give up TPU. For many setups the right answer is neither. You bypass the unit and feed TPU straight into the toolhead as a single material.
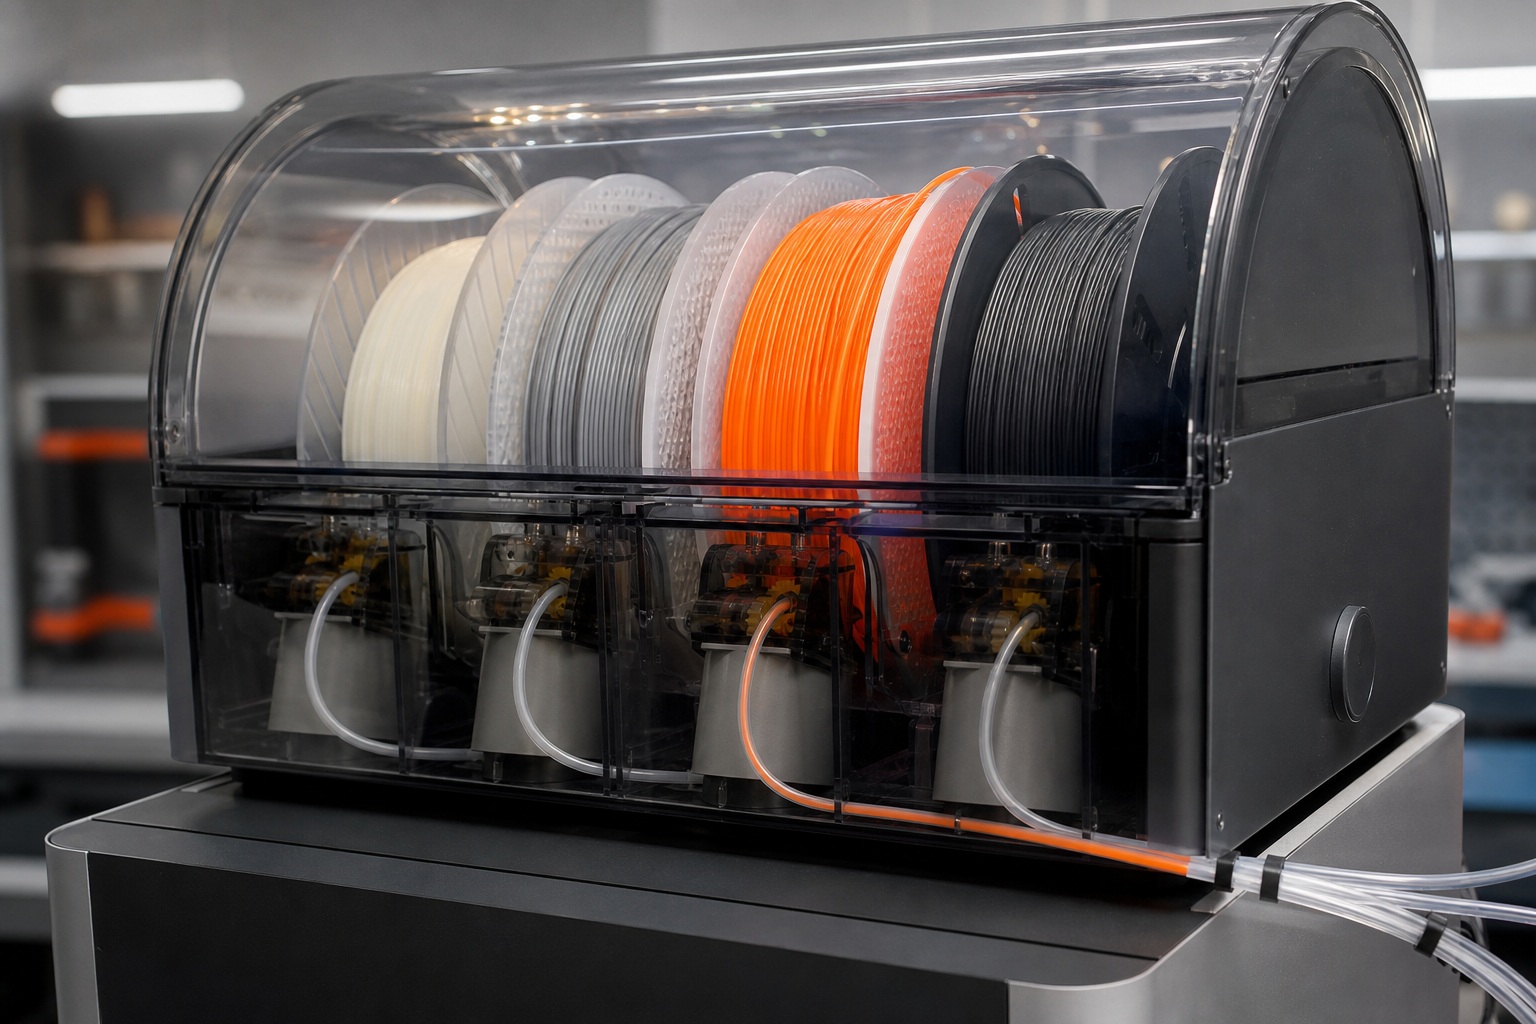
What a multi-material system is: a unit that stores several spools and feeds one at a time into a single shared nozzle, switching filament automatically mid-print. Examples include Bambu Lab's AMS, Prusa's MMU, Creality's CFS, and the DIY Enraged Rabbit Carrot Feeder (ERCF). Tool-changers and IDEX printers reach the same result a different way: each material keeps its own extruder. That hardware difference is the whole story for TPU.
Why TPU fights a multi-material system
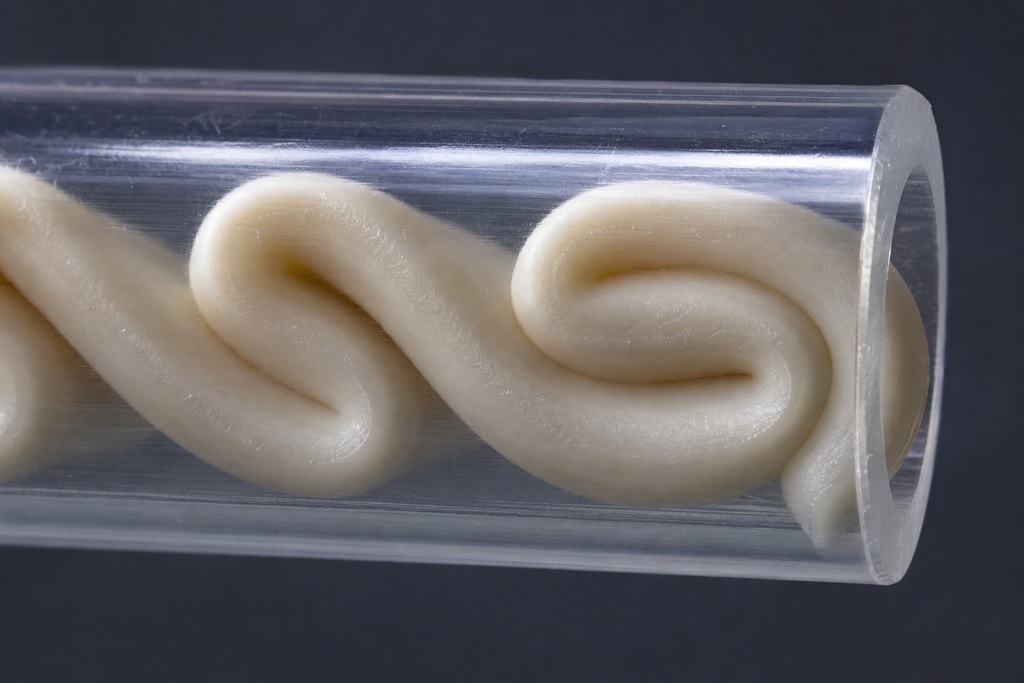
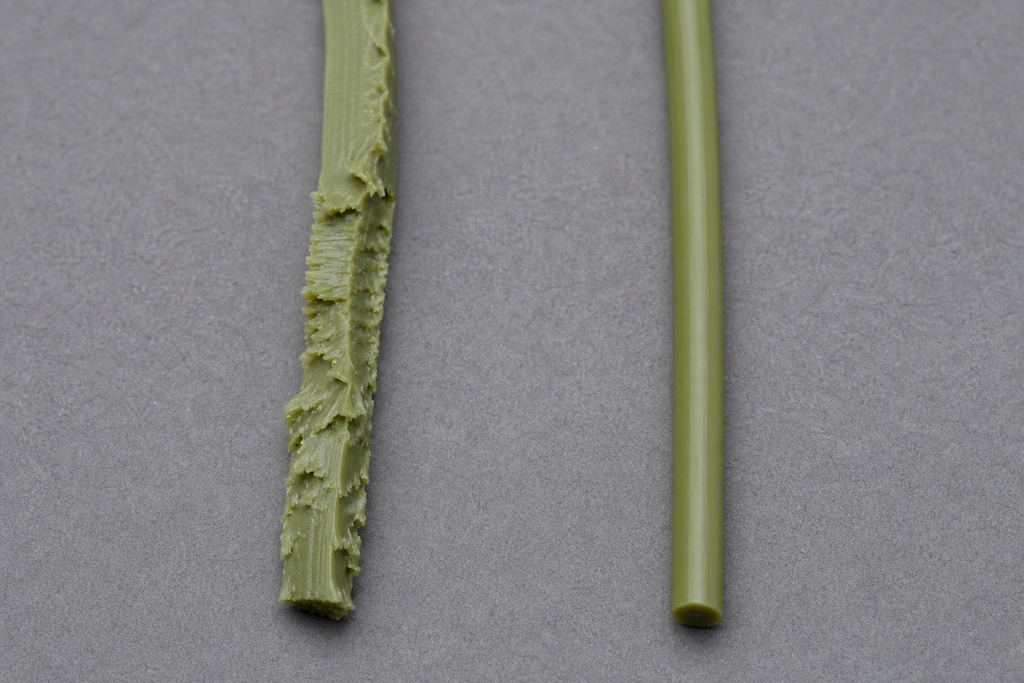
TPU jams in these systems because it compresses like a spring instead of passing the push along. Rigid PLA or PETG acts like a solid rod: the extruder gears push one end, and the far end moves. Thermoplastic polyurethane (TPU), a flexible rubber-like plastic, soaks up that force by coiling and folding inside the tube. This is the "pushing a rope" problem. It strikes anywhere the path gives the filament room to buckle: long PTFE runs, sharp bends, the buffer, the selector, and the idler gears.
Every choice later in this guide fights that one behavior. Two factors set how hard the fight gets, and both lock in before you tune anything: the path's architecture (its length, its curves, and where the drive gear sits) and the hardness of the TPU. Miss on either, and slicer values can't make up the difference.
Will your system handle TPU?
Whether TPU works depends on your unit's architecture, not its brand. Short, constrained, direct-drive paths tolerate hard TPU. Long shared Bowden paths reject even the harder grades.
| System | Works with TPU? | Notes / what to do |
|---|---|---|
| Bambu AMS / AMS Lite / AMS 2 Pro | Standard/soft TPU: no | Bypass to an external spool for ordinary TPU; hard "TPU for AMS" grades are tolerated |
| Bambu AMS HT | Only "TPU for AMS" | Certified grade runs the automatic path; ordinary TPU only via bypass (no auto-switching); nothing below 95A on the automatic inlet |
| Creality CFS | No | Standard TPU buckles and accumulates in the feeder |
| Creality CFS Lite | Only ~64D / 77D or harder | Common 95A is not supported |
| Prusa MMU2 / MMU3 | Not officially supported | 98A+ is experimental and needs heavy tuning |
| ERCF + direct-drive toolhead | Yes, if the Bowden run is short | Keep the tube from feeder to extruder as short as possible |
| Tool-changer / IDEX / independent dual extruders | Best architecture | Each tool keeps its own short direct-drive path |
Bambu's AMS HT manual lists "TPU for AMS" as supported through the automatic path, and it warns against feeding anything softer than 95A through the automatic inlet. Creality's CFS wiki keeps ordinary TPU out of the standard CFS and allows only hard 64D/77D grades on the CFS Lite.
One point trips people up: the Bambu AMS toolhead is direct-drive, which suggests it should handle flexibles with ease. It doesn't. Soft TPU still buckles upstream, inside the AMS feeder and the reverse-Bowden tube that feeds the toolhead, long before it reaches that short direct-drive section. A direct-drive toolhead is necessary but not enough on its own. That's why calling the AMS "highly compatible with TPU" overstates it: only the harder "TPU for AMS" grades clear the feeder reliably.
Picking the right TPU hardness
Use 95A or harder for any shared-path system; below that, TPU buckles no matter how you tune it. 85A–90A TPU almost always fails in an AMS, MMU, or CFS feeder: it's soft enough to fold under gear pressure and swell against the housing. For the experimental Prusa MMU3 case, success shows up only at 98A and above. Creality's CFS Lite raises the bar further, accepting roughly 64D or 77D and rejecting common 95A entirely.
That 64D figure hides a trap. Shore A and Shore D are separate hardness scales, so their numbers don't compare. 64D is far harder and far less rubbery than 95A: closer to a rigid plastic than a stretchy band. That points to the real cost: the grades that survive a shared path trade away the softness that made you reach for TPU in the first place. A "TPU for AMS" or 64D filament won't feel like a soft phone bumper. If your part must truly stretch and rebound, the compatible grade may not fit the design at all: a limit to settle before you print, not after.
Choose your route before you tune
Pick one of three routes before you touch a setting. Each one decides which of the sections below apply to you.
Automatic multicolor or TPU-only: works only with a grade certified for your unit, Bambu's "TPU for AMS" or Creality's hard CFS Lite grades, and every spool in the set must be just as hard. Drop one soft TPU into the mix, and the buckling comes back.
Ordinary 95A or softer, single material: bypass the unit. Feed from a low-friction external spool or a dryer straight into the toolhead. This is the manufacturer-recommended route, not a failure: you trade automatic switching for reliability.
TPU mixed with a rigid plastic: three options, in order of reliability. First, use a tool-changer or IDEX printer, where each material keeps its own short direct-drive path. Second, print the rigid and flexible parts separately and join them with mechanical interlocks: dovetails, pins, snap-fits. Third, if the material changes only once, make a single manual filament swap at a planned layer.
Hardware setup and modifications
The physical path matters more than any slicer value. Shorten it, straighten it, and stop the gears from crushing the filament.
- Shorten the PTFE between the unit and the extruder, and remove every sharp bend: each curve is a place TPU can fold.
- Use tight-tolerance tubing (Capricorn or similar) and replace worn or scored PTFE; interior friction is what strips soft filament.
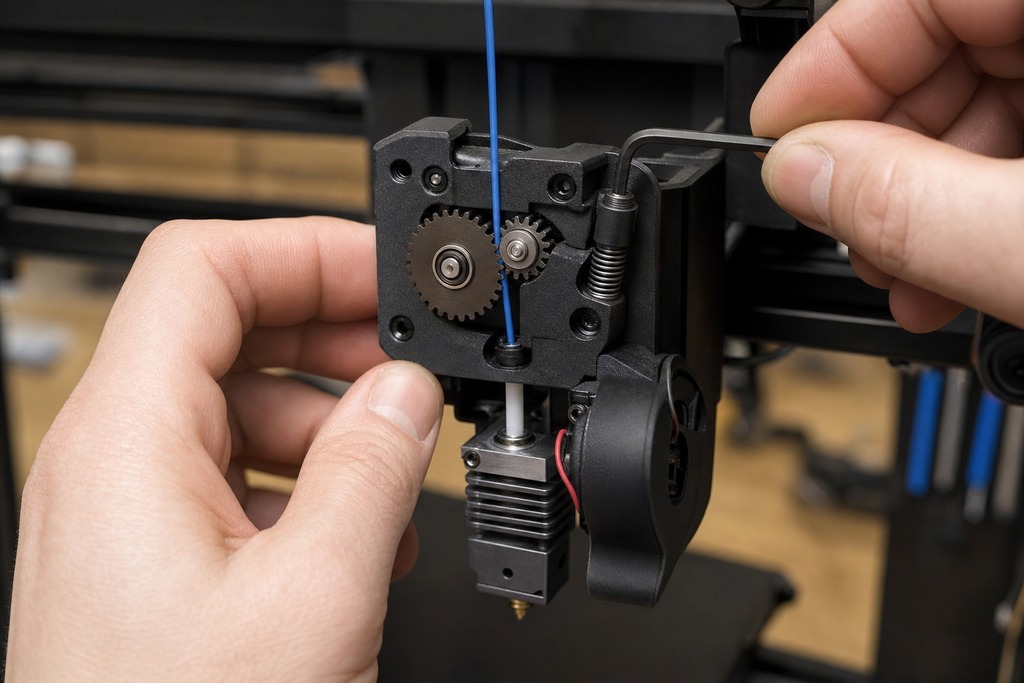
- Loosen the extruder or feeder gear tension until the gears grip without bulging the TPU sideways: PLA-level tension crushes it.
- Keep a straight, unobstructed feed path and remove filament guides or brushes that add drag.
- Make sure the spool rotates freely and is wound tightly and evenly; loose or crossed winding snags when the feeder pulls fast.
- Prefer lighter 500 g spools or frictionless bearings so the feeder doesn't stretch soft TPU just to turn the reel.
- Bypass reverse-Bowden routing anywhere it only adds length.
Drying and prepping the TPU
Dry TPU before every multi-material print: wet TPU jams a selector faster than any other fault. TPU is strongly hygroscopic, which means it pulls water out of the air. That moisture flashes to steam in the melt zone and causes popping, bubbles, stringing, and uneven feeding that can stall a switch mid-load. A safe start is 50–60°C for 4–8 hours, but the filament maker's number always wins: Creality specifies up to 65–75°C for eight hours on some products. Never exceed the spool's rating.
Keep it dry while printing too, in a dryer or sealed box, since TPU reabsorbs moisture within hours. Before loading, cut the leading tip at a 45° angle with sharp cutters so it doesn't catch on the selector's internal edges. Purge any leftover high-temp filament from the melt zone first.
Slicer settings for 95A TPU
Start slow and gentle, then verify. These are 0.4 mm nozzle starting points for ordinary 95A TPU; a manufacturer profile, where one exists, overrides all of them.
| Setting | Starting point (0.4 mm nozzle) |
|---|---|
| Nozzle temperature | 220–235°C (Prusa's flexible guidance runs 230–245°C: the range shifts by brand) |
| Bed temperature | 35–60°C |
| Print speed | 15–40 mm/s (outer walls slower, ~10–20) |
| First layer | 15–25 mm/s |
| Max volumetric flow | 2–4 mm³/s (Creality: 2 for generic, 3 for high-flow) |
| Retraction distance | 0.4–1.5 mm (direct drive) |
| Retraction speed | 15–25 mm/s |
| Fan | 30–70% |
| Layer height | 0.20 mm |
| Idler pressure | As low as possible without slipping |
Retraction distance and retraction speed are two separate levers, and both must drop for TPU: cutting one doesn't cover the other. Long retraction pulls soft filament up into a cold zone, where it folds and jams. Fast retraction snaps it back and tangles it in the gears. Confirm your flow number with a volumetric test before a long run, because pushing past what the melt zone can supply causes under-extrusion at the exact moment a switch needs clean feeding.
Toolchange and purge settings
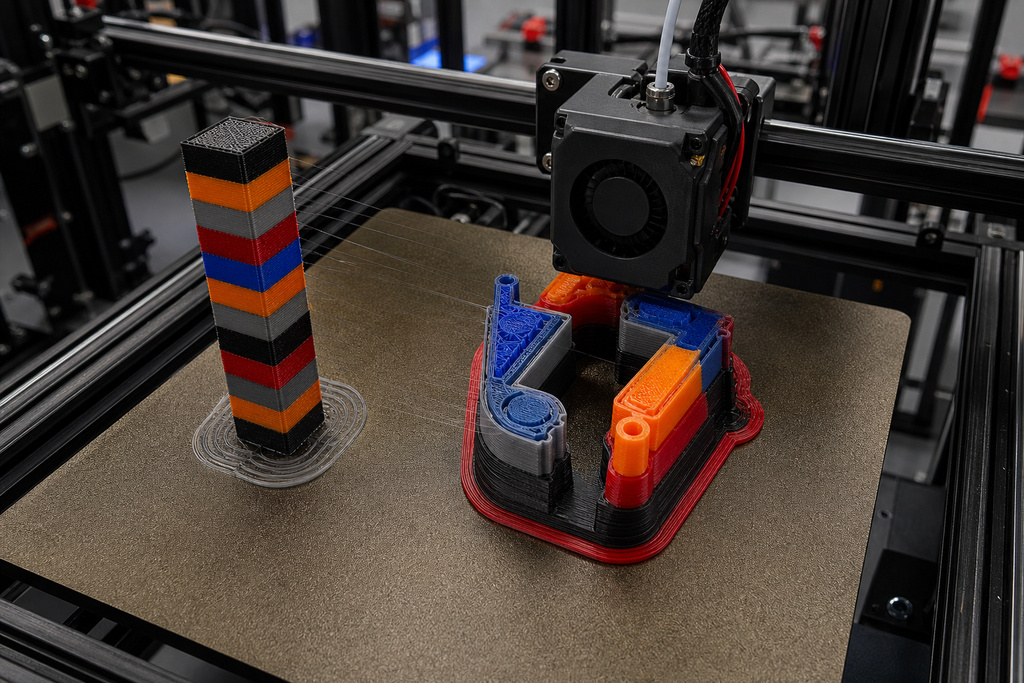
The toolchange is where single-material tuning stops being enough: the unit has to fully retract TPU, feed something else, and purge the shared melt zone. Slow the load and raise the purge. In Bambu Studio, picking the "TPU for AMS" profile handles the first part for you: the firmware drops AMS feeder speeds and caps motor torque, so the gears don't strip the filament during a swap. PrusaSlicer's "Use flexible filament" checkbox does the same, cutting retraction and slowing MMU load and unload on its own.
Tuning by hand, set load and unload speeds to 20–30 mm/s. For purging, TPU needs 20–30% more volume than PLA to clear cleanly: roughly 80–150 mm³ going from TPU to a rigid material, and 60–100 mm³ going the other way. Give the wipe tower a brim and extra width, because oozy TPU will topple a tall, narrow one before the print finishes. Where the model allows, order it rigid-first and TPU-last, so you purge TPU off at the end instead of fighting to clear it from the nozzle before a rigid layer.
Loading protocol
First load is manual. Don't let the unit yank cold TPU through a tube it can't push.
- Cut the tip at a 45° angle with sharp cutters.
- Clear any remaining high-temp filament from the melt zone.
- Manually push the TPU through the tubes until it reaches the extruder gears.
- Only then trigger the unit's Load command — and stop if you meet heavy resistance rather than forcing it.
- Run a small material-change or toolchange test before committing to a long print.
Troubleshooting TPU in a multi-material unit
Most failures trace to one of five causes. Read the symptom, then fix the cause underneath it, not the surface.
| Symptom | Probable cause | Solution |
|---|---|---|
| Jam at the extruder gears | Tension too high, or retraction too long | Loosen the tensioner; cut retraction below ~1.0 mm |
| Buckling or breaking inside the tube | TPU too soft, or path too long or bent | Use a harder grade; shorten and straighten the path; or bypass the unit |
| Grinding at the feeder | Spool tangle, tube friction, or gear tension | Check the spool winding and tubes; lower tension or raise the hotend temp |
| Stringy, messy transitions | TPU oozing from a hot nozzle | Raise wipe/purge volume; don't run the nozzle overly hot |
| Clog after a rigid→TPU change | Rigid plastic cooled into a plug | Keep the idle/wipe temperature high enough to fully purge the rigid material before TPU enters |
Who should not run TPU through the unit
Skip the multi-material unit entirely if any of these describe you.
- Soft TPU (below 95A) on a shared path. It buckles regardless of tuning — buy a harder grade or bypass to an external spool.
- A part that must feel genuinely rubbery. The hard grades that survive the feeder aren't stretchy; the design need and the hardware conflict, and the hardware wins.
- A Bowden MMU2 or a long-tube DIY unit. Don't attempt TPU through it at all — the path length guarantees the failure.
- Soft TPU automatically mixed with rigid plastic on one shared nozzle. That is the honest no. Print the parts separately with mechanical interlocks and assemble, or move to a tool-changer or IDEX printer.
FAQ
Can I run 85A TPU through an AMS or MMU?
No. 85A–90A TPU is too soft; it folds under the feeder gears and buckles in the shared tube no matter how you tune load speed or retraction. Use 95A or harder for a shared path, or bypass the unit to an external spool.
Does bypassing the AMS mean I lose multicolor printing?
You lose automatic switching for the TPU only. Feeding TPU from an external spool straight into the toolhead makes it a single-material job. The AMS can still handle your other materials if the printer supports mixed routing, but it won't auto-swap the bypassed TPU.
Is "TPU for AMS" as flexible as regular TPU?
No. Grades certified for the AMS or CFS are harder (95A high-flow, or roughly 64D for Creality's CFS Lite) so they feed without buckling but feel noticeably less rubbery. If the part needs real stretch, that trade may rule the grade out.
Can I print TPU and PLA together on one nozzle?
Only with hard, similarly rated grades, and even then bonding between TPU and PLA is weak. For soft TPU with a rigid plastic, use a tool-changer or IDEX, or print the parts separately with dovetails or pins and assemble them.
What temperature should I dry TPU before a multi-material print?
Roughly 50–60°C for 4–8 hours is a safe start, though some products are rated up to 65–75°C for eight hours. Always follow the spool's own rating and never exceed it — wet TPU jams a selector almost immediately.
References
- Bambu Lab, AMS HT product page — https://uk.store.bambulab.com/products/ams-ht/
- Bambu Lab, AMS HT manual (PDF) — https://cdn1.bambulab.com/documentation/h2d/en/AMS_HT_20250109.pdf
- Creality, CFS filament compatibility guide — https://wiki.creality.com/en/cfs/cfs-filament-compatibility
- Creality, CFS Lite filament compatibility guide — https://wiki.creality.com/en/sparkx/cfs-lite/filament-compatibility-guide
- Creality, printing TPU filament guide — https://wiki.creality.com/en/cr-series/creality-hi/print-tpu-filament